| Teams | Bosses | Matrix | Battles | History |
| Last update: 21. September 2025 | ||||
| Tier 1 (bosses we struggle against and who need special teams to do significant damage) |
|---|
![]() |
XV104 RIPTIDE, Nova Reactor-Powered Heavy Battlesuit (click to expand) |
|---|
| Tactic: | Handle the adds, don't let your melee units be caught by the Nova Boost ability, be prepared for the jump (or block it with Galatian) Demo Battles |
|---|---|
| Videos: |
Nandi (07.07.2025) |
| Best teams to use: | Custodes |
| Alternative team: | Anything goes, just Admech is understandably handicapped (you can't bring Admech units) |
| Team/Tactic vs Sho'syl: | TBD |
| Team/Tactic vs Re'Vas | Use units with infiltrate (or Sibyll) or Terminator Armor |
![]() |
Belisarius Cawl, Archmagos Dominus (click to expand) |
|---|
| Tactic: | Try to handle the summoned units to keep Machine Vengeance low (Summons help or having Forgefiends Active Ability high enough (around 35). Careful when fielding mechanical units, Cawls abilities can be detrimental to them. Demo Battles |
|---|---|
| Videos: |
Nandi (16.01.2025) Caged Slinky (14.01.2025) Caged Slinky (12.12.2024) |
| Best teams to use: | Snotty Weirdness, or at least Snot for dealing with Cawls summons. |
| Alternative team: | Anything goes |
| Team/Tactic vs Tan Gi'da: | TBD |
| Team/Tactic vs Actus | Destroy the crates! |
![]() |
Magnus the Red (click to expand) |
|---|
| Tactic: | Still a strange fight and hard to figure out, what works best.
Movement (and predicting boss behaviour) can be a challenge depending on the map and kinda random teleportation (and cloning) of units. Kill the adds - be mindful of the respawn ghost, try to place a unit here before killing the add to prevent the respawn (Spore Mine of Biovore can help tons here!). Terminator Armor complicates things further. Lots of summons could be helpful to bind Magnus into place. If anyone has deeper insights, please share! Demo Battles |
|---|---|
| Best teams to use: | Double Howl (if useable high ground is on the map)
|
| Alternative team: | Snotty Weirdness, Multi Hit |
| Team vs Thaumachus: | Summons clones of your team at the start of the battle and loses life if those clones are killed. Additionally as long as even one of those copies lives, Thaumachus has damage reduction. Can mind control a char and its summons for a turn, so probably don't bring a summon team(?).
Priority number one is killing the opposing clone team, so bringing a team that can do that reliable and fast helps a lot (guesswork on my part). |
| Team vs Abraxas: | Abraxas has damage reduction as long there allied demons on the battlefield. He loses life each time any of those demons are killed. |
| Avatar of Khaine (click to expand) |
|---|
| Tactic: | You can't use two major buffers (Eldyron and Aethana) in this fight, so classic multi-hit team has a hard time to shine. If you don't have another meta team built up you can get decent damage numbers with the "Double Howl" team. Demo Battles |
|---|---|
| Best teams to use: | low tiers (till maybe L3): Admech (Core+Necrons), Snotty Weirdness higher tiers (L3+): Double Howl (if high ground is available) - set-up is more delicate than the usual kick and rush |
| Alternative team: | Double Howl Support (Buffers): Damage dealers: |
| Team vs Aethana: | Aethana takes extra damage for each time she is attacked, so i'm guessing Admech with ranged summons from Tan'Gida could work best. |
| Team vs Eldyron | Eldyron takes reduced damage as long as a phantasm is in play. Bring the Biovore war machine to have an additional option to get rid of a phantasm. Otherwise units with good move and long range can help (Thaddeus for example) |
![]() |
Mortarion, the Death Lord (click to expand) |
|---|
| Tactic: | Mortarion generally uses his Lantern ability first and after that goes for the psykers in your team (usually that means Eldyron, if no one else is there). Mortarion punishes melee damage dealers and Multi Hit teams are nerfed here. Demo Battles |
|---|---|
| Best teams to use: | Neuro seems to work well |
| Alternative team: | Multi Hit damage dealers are nerfed here, but a modified Multi Hit team can work: Eldryon, Thaddeus Noble, Maugan Ra, Alpeh-Null, Roswitha |
| Team vs Nauseous Rotbone: | Admech Rotbone has damage reduction but loses a good deal of life every time he is damaged. So lots of small damage events add up. Summons and the ability of Exitor-Rho are perfect here. Don't overextend your key pieces too soon, as those Blightlord Terminators pack a punch and are hard to eliminate (Terminator Armor and being revived by Rotbone)! |
| Team vs Corrodius: | Admech Corrodius takes damage every time one of his Poxwalkers is defeated, so it's a good idea to deal with them on a consistent basis. Re'Vas and Imospekh with repeat overwatch work well, as do characters with summons. |
| Tier 2 (bosses who need strong teams and good coordination but are generally not a problem) |
|---|
![]() |
Ghazghkull Mag Uruk Thraka (click to expand) |
|---|
| Tactic: | Don't stand in the hexes that are marked for special abilities. Try to make use of high ground tiles. Boss is constantly moving so Ragnar can make good use of his charge buff. Demo Battles |
|---|---|
| Best teams to use: | Multi Hit: Ragnar, Marneus Calgar, Eldryon, Aethana, Maugan Ra (or Kharn) |
| Alternative team: | Pretty much any team works reasonably well |
| Team vs Gibbascrapz: | Gibba takes extra damage each time he is attacked. This effect triggers a maximum of 15 times, so bring a team that can Sounds like Admech Team would work well. |
| Team vs Tanksmasha: | You need mobile chars (flying works best) to reach the barrels adjacent to Tanksmasha. Destroying those adjacent barrels is the main source of damage in this fight. Kill the pesky Grots if you can't reach the barrels to unclutter the battlefield. Possible team: |
![]() |
Rogal Dorn (click to expand) |
|---|
| Tactic: | Try to attack from behind the boss as your units get a Crit bonus there. Crits are especially important for your units that have less than 60% piercing stat, as Rogal Dorn has greatly increased armor against those units (which does not apply to crits). Aethana is therefore a good char to bring. Try to not stand in the front of the boss as he will damage or kill your units when rolling over them and his "Overwatch" ability can be a PITA. Demo Battles |
|---|---|
| Best teams to use: | Multi Hit with Ragnar Boss is constantly moving so Ragnar can make good use of his charge buff. Admech with Aethana Work in progress, but seems to work really well vs. lower level Rogal Dorn. Will be tested vs. higher level Rogal Dorn and the gathered info will then be displayed here. Admech battles vs. Rogal Dorn |
| Alternative team: | Double Howl |
| Team vs Sibyll Devine: | Sibyll summons 6 Cadian Guardsman each turn and takes damage if those guardsmen are killed. Admech probably works best. |
| Team vs Thaddeus Noble: | Attacking Thaddeus in melee or would be stunned he takes extra damage and his units get surpressed. If you can surround Thaddeus with melee units, that should prove fruitful. |
![]() |
Szarekh, The Silent King (click to expand) |
|---|
| Tactic: | Baiting Szarekh to leave his throne is key to do a lot of damage. Unfortunately it's still not perfectly clear if this is just a random decision on his part or if you can reliable reproduce a set-up to get him off of that thing. When you managed to bring him down into the mud, the next important thing is to don't let him get up again! He is pretty slippery so unless every way is blocked he will flee to high ground. Demo Battles |
|---|---|
| Best teams to use: | Once he is away from his throne any team can do a lot of damage. Admech, Multi Hit (with Maugan Ra) Admech and Snotty Weirdness probably manage best to surround the boss to keep him from fleeing to high ground. |
| Alternative team: | Any team works |
| Team vs Menhir and Hapthatra/Mesophet: | Some of the maps have limited space for melee attackers, so keep an eye out for that. Other than that any team works. |
| Tier 3 (bosses who are easily defeated and everyone deals good damage to them) |
|---|
![]() |
Screamer-Killer (click to expand) |
|---|
| Tactic: | Set up is very important because SK only moves on the first turn and then stays there. So it's important to get it to low ground on that first turn. After that there are two major approaches: Have 3+ units adjacent to SK (no one gets pushed) or have 2+ units adjacent to SK (one gets pushed and damaged, they other only takes damage. Avoid having only one or no unit adjacent, results aren't pretty otherwise. Demo Battles |
|---|---|
| Best teams to use: | Admech (best!) Multi-Hit with Ragnar If Ragnar is pushed, he can use his charge buff every turn. |
| Alternative team: | Any team should work with the exception of Neuro probably, because it doesn't have tanking units in it's lineup. And i'm pretty sure you can't use Neurothrope anyway in this fight... |
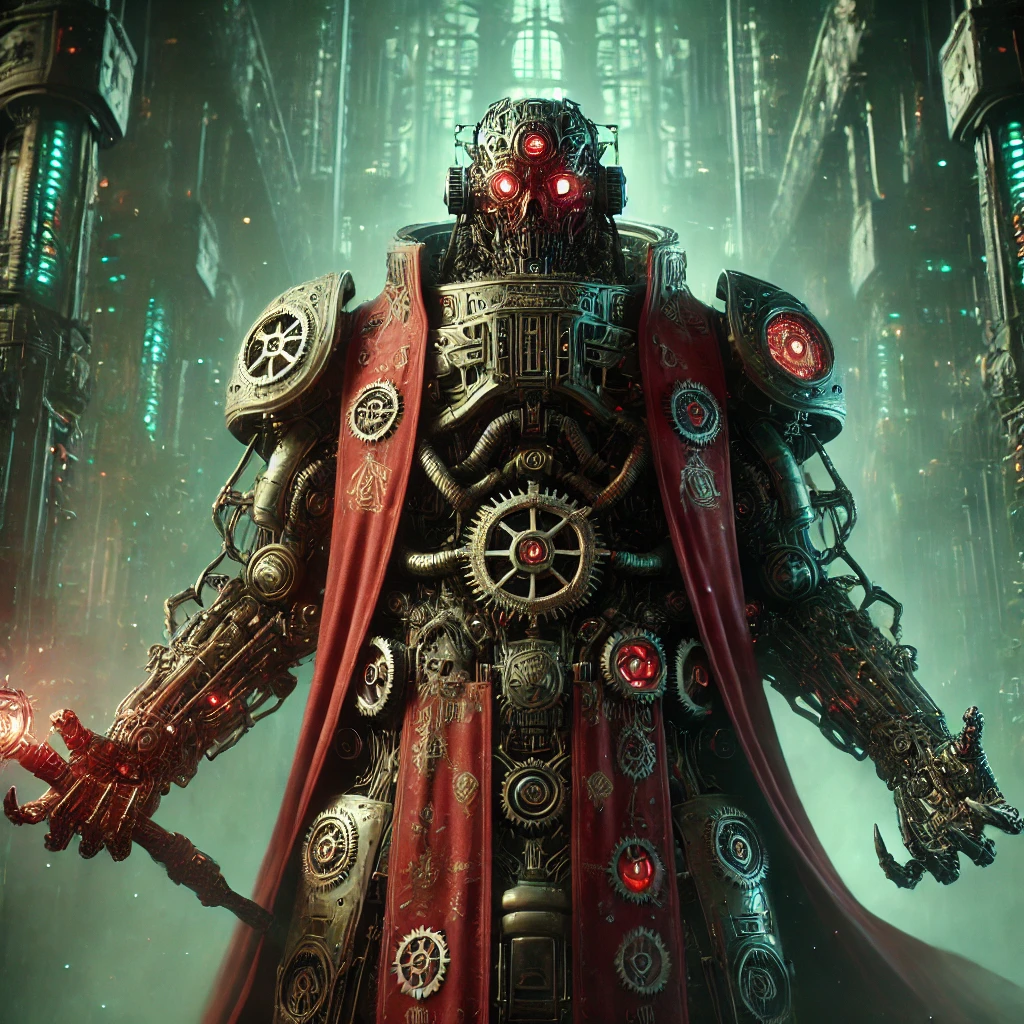
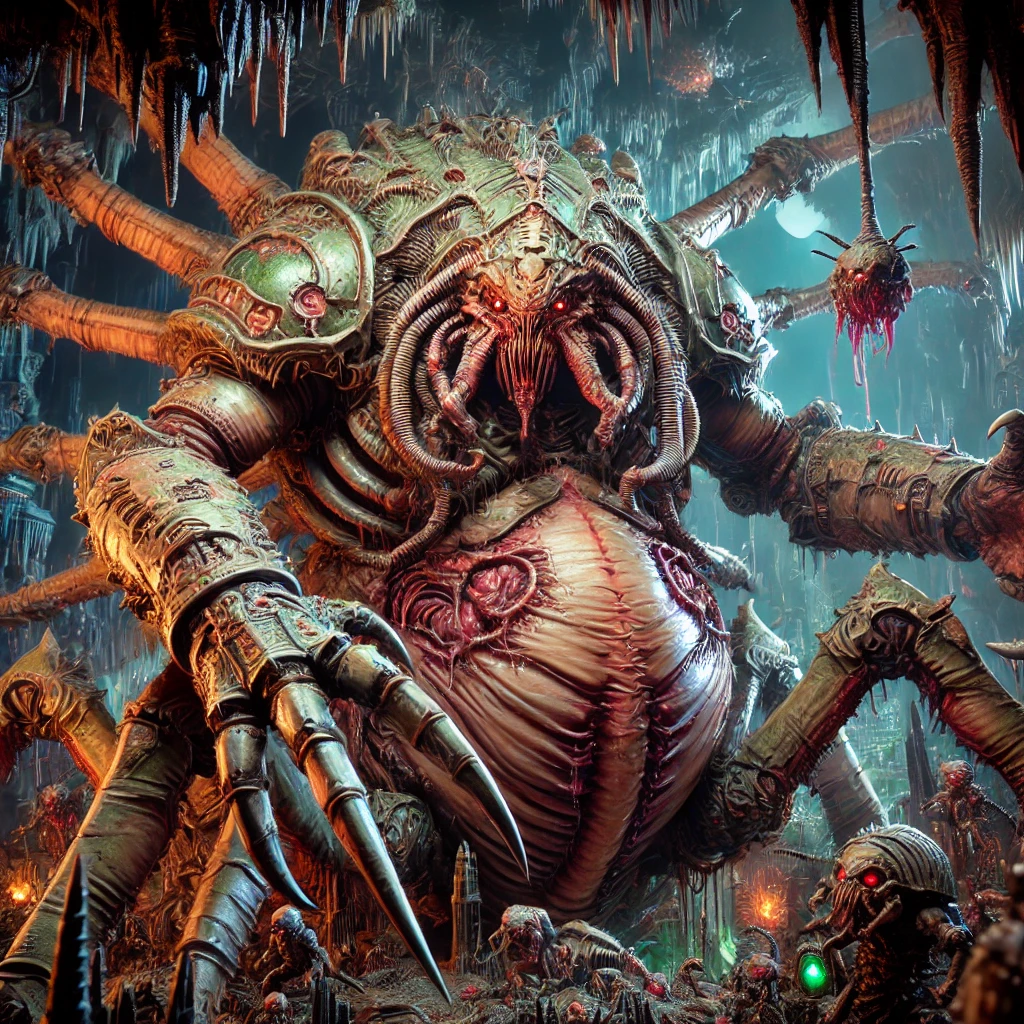
| Team vs Neurothrope: | Melee attacks do extra damage, ranged attacks do reduced damage. Maps might make it hard to have enough space for melee attacks. Plan accordingly. |
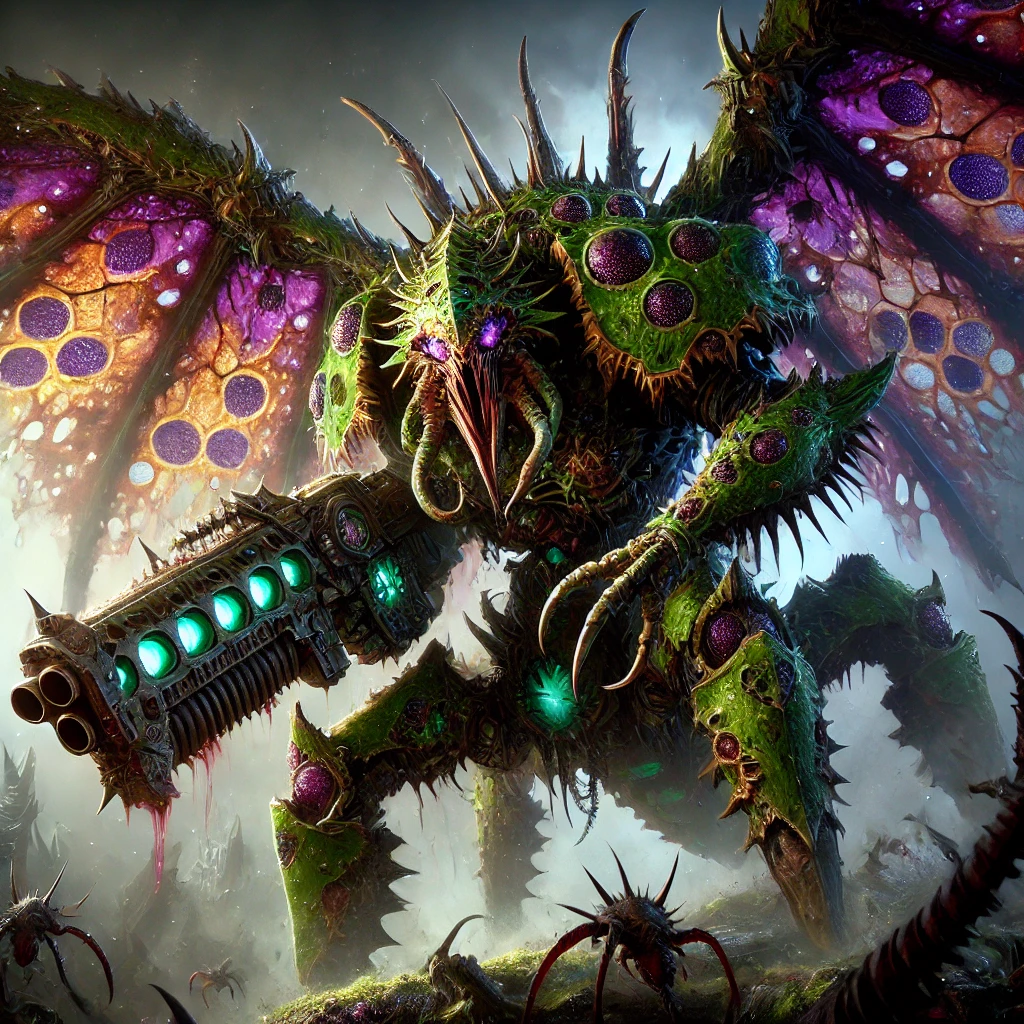
| Team vs Winged Prime: | Winged Prime is vulnerable to fire and blast damage. Thaddeus works great, Re'Vas works (altough it suffers from Close Combat Weakness when used as a melee combatant). Pestillian with a high passive ability could work (testing needed), Ahriman works if you have him. Vindicta is great, but is dangerous for your own team. War machines: Tson'ji (deals Blast damage), Forgefiend does not work For more possible units to use look here: Demo Battles |
![]() |
Tervigon (click to expand) |
|---|
| Tactic: | Terminate with extreme prejudice. Re'Vas is very useful here to deal with adds, if used correctly. Demo Battles |
|---|---|
| Best teams to use: | Admech works best, Multi Hit comes in second, but any team should work, use your best (or use the opportunity to get a feel for a new team, just don't let the damage output suffer to much!) |
| Alternative team: | Any team. |
| Team vs Alpha/Omega Prime: | Beat them up. Or better yet: don't! Very often we just let those adds live - check in the guild chat. |
![]() |
Hive Tyrant (click to expand) |
|---|
| Tactic: | Same as with Tervigon really. Demo Battles |
|---|---|
| Best teams to use: | See above. |
| Alternative team: | See above. |
| Team vs Alpha/Omega Prime: | See above. |